VC++ Developer Getting Started
|
VC++ Developer Getting Started |
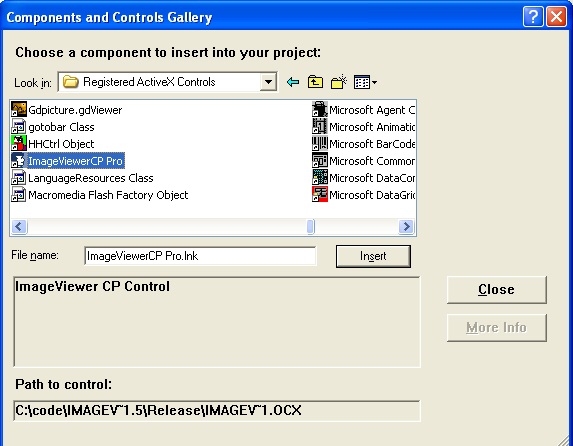
Assuming that you have already run the Image Viewer CP Pro ActiveX Control installation program and started Visual C++, the next step is to create a Dialog based project. To do this begin by selecting the "MFC AppWizard (exe)" option from Projects List Box and select "Dialog based as your project type. Then select the "Project/Add To Project/Components and Controls.." command , then select Registered ActiveX Controls folder and select Image Viewer CP Pro Control and click insert button.
|
|
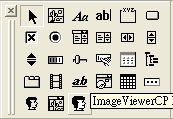
Select Control
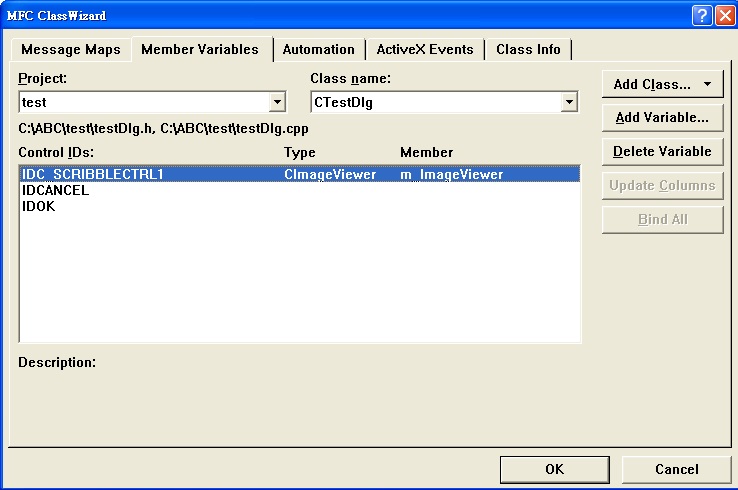
Click on the Image Viewer CP Pro ActiveX Control icon and draw it on the form. A rectangle should appear on the form. Press Ctrl+W to trigger ClassWizard and create m_ImageViewer member variable.
.
Add Button in Dialog add this line of code, which will load the image file.
void CTestDlg::DoDataExchange(CDataExchange* pDX)
{
CDialog::DoDataExchange(pDX);
//{{AFX_DATA_MAP(CTestDlg)
DDX_Control(pDX, IDC_SCRIBBLECTRL1, m_ImageViewer);
//}}AFX_DATA_MAP
}
BEGIN_MESSAGE_MAP(CTestDlg, CDialog)
//{{AFX_MSG_MAP(CTestDlg)
ON_WM_SYSCOMMAND()
ON_WM_PAINT()
ON_WM_QUERYDRAGICON()
ON_BN_CLICKED(IDC_BUTTON1, OnButton1)
//}}AFX_MSG_MAP
END_MESSAGE_MAP()
void CTestDlg::OnButton1()
{
// TODO: Add your control notification handler code here
m_ImageViewer.SetFileName("c:\\test.jpg");
}